How to Upload Videos to Vloggi Using a Link or QR Code

If you have been invited to contribute videos to a project using the vidoe submission tool Vloggi, uplaoding or recording a video is usually a painless process with an intuitive upload landing page. But in case you get stuck, here's a step-by-step guide.
Whether you received a link via email, social media or text message, or perhaps scanned a QR code from a feedback poster in a store, you will land initially on a Vloggi upload landing page. This guide will walk you through the process of uploading your video, as well as completing multi-question video questionnaires.
Step-by-Step Guide to Upload Videos via Link or QR Code
- Open the Link or Scan the QR Code
You will have received either:
- A link that looks like https://upload.vloggi.com/projects/ABC-123 or https://[brandname].vidsub.com/up/ABC-123 that contains a unique project code
- A QR code to scan with your phone’s camera, which will direct you to the same upload page
Once you access the link, you’ll be directed to the unique Vloggi upload landing page for the project to which you are contributing video content. This page has been configured by the project owner (typically a business or organization, but it could also be a personal project by one of your friends). The purpose of Vloggi is to allow anyone to crowdsource video content from thousands of people and obtain the rights to re-use the footage.
- Review the Project Brief and Guidelines
On the landing page, you’ll see:
- A brief from the project owner, explaining what type of content they’re looking for
- Project rules - A guide to what the project owner does not want to see (e.g., no profanity)
- Filming tips to help improve your submission
- A reward - this could be a prize, a cash payment or another incentive set by the project owner
- A deadline - some projects only accept submissions up to a specified date
- Example videos - Some project owners display example videos to guide you
- Additional terms and conditions set by the project owner
Make sure to review all this information before proceeding.
If you'd like to test a demo upload page, here is a link for you to try
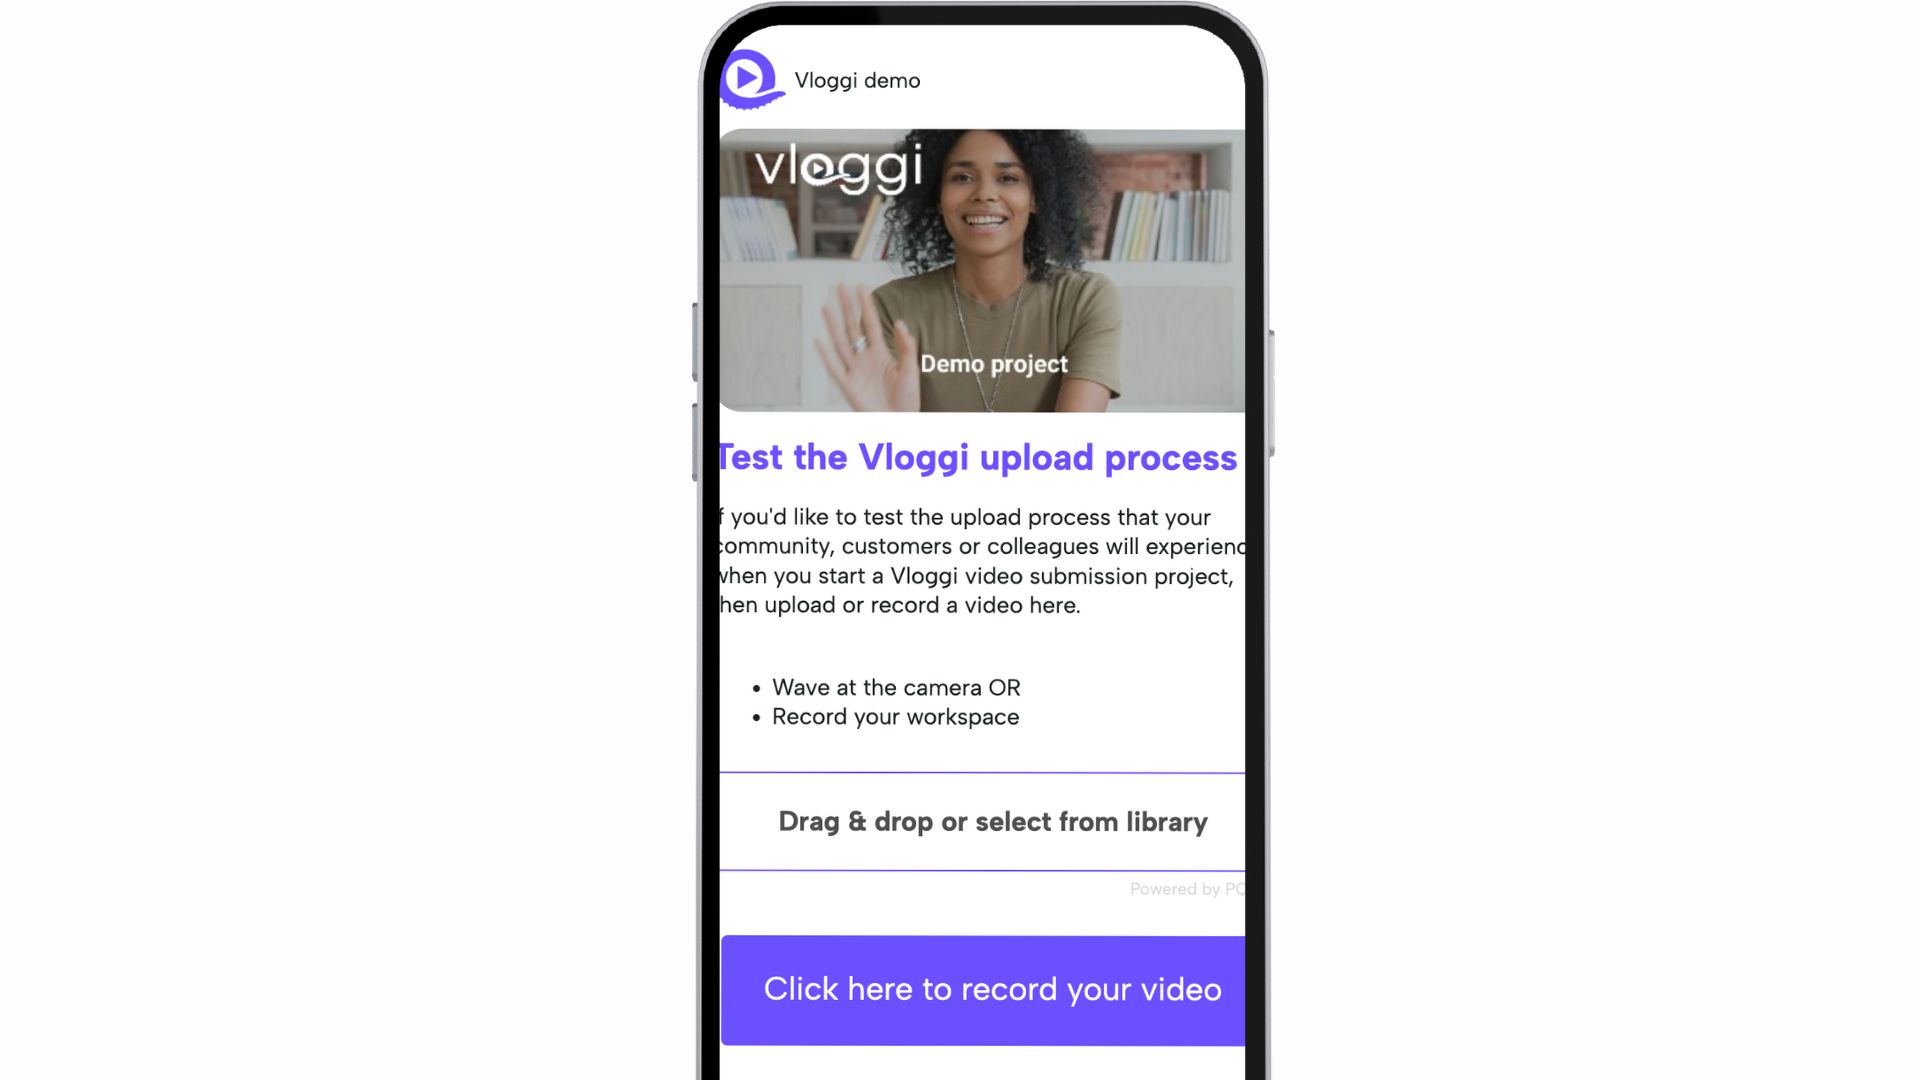
- Choose How to Contribute Your Video
Depending on the project settings, you can either:
- Upload a pre-recorded video from your phone or computer
- Record a new video using your phone or computer’s webcam
To Upload a Pre-Recorded Video
1. Click the Drag & drop or select from library button or on a desktop drag a file into the box.
2. On a phone, a file picker will open, allowing you to select your video from your device.
3. Make sure your video file meets the project’s size and format requirements (e.g., MP4, MOV, AVI, or WEBM).
To Record a New Video Response
1. If you're using your phone, tap the Click here to record your video button to access your camera.
2. If you're on a computer, ensure your browser has permissions enabled for camera and microphone access, and click the Record button to start.
3. Record your video, then confirm when done.
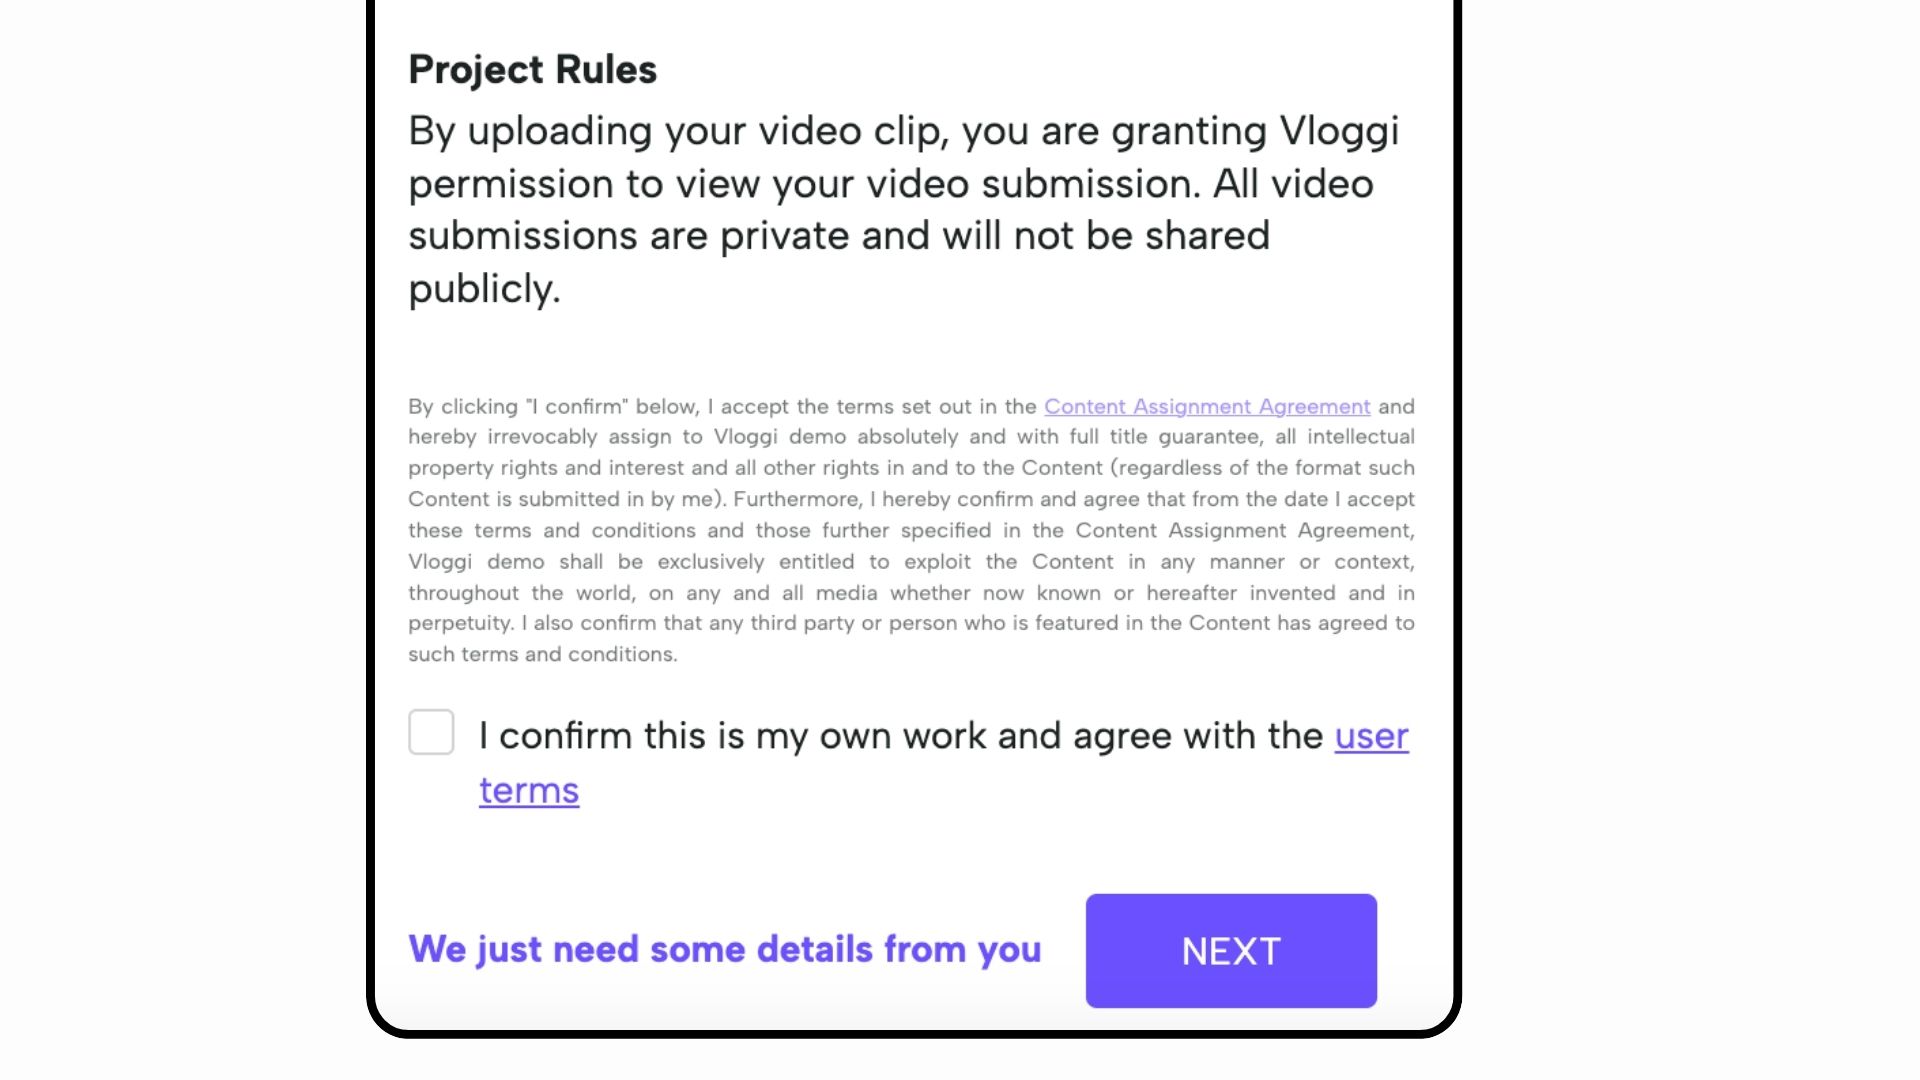
- Consent to Terms and Conditions
Before submitting, you must:
- Tick the box consenting to the re-use of your video by the project owner
- Accept the terms and conditions
- Provide Your Personal Information
Next, you’ll be taken to a data collection page, where you’ll need to provide some basic information such as:
- Your name (mandatory)
And possibly additional information such as:
- Email address
- Confirm filming location, calculated from the video file data
- Organization
Depending on the project, there may also be custom questions, such as store number, state, or other fields the project owner may use to categorize your entry.
Privacy Note
Vloggi does not store, use, or pass on your personal information. Your data is shared directly with the project owner and stored securely on GDPR-compliant servers. For more information, please refer to our privacy policy
- Submit and Complete
Once you’ve provided your information:
- Click the Complete Submission button.
- You’ll see a success page confirming your video has been uploaded.
- After 5 seconds, you’ll be redirected to a webpage chosen by the project owner, typically containing more information about the project.
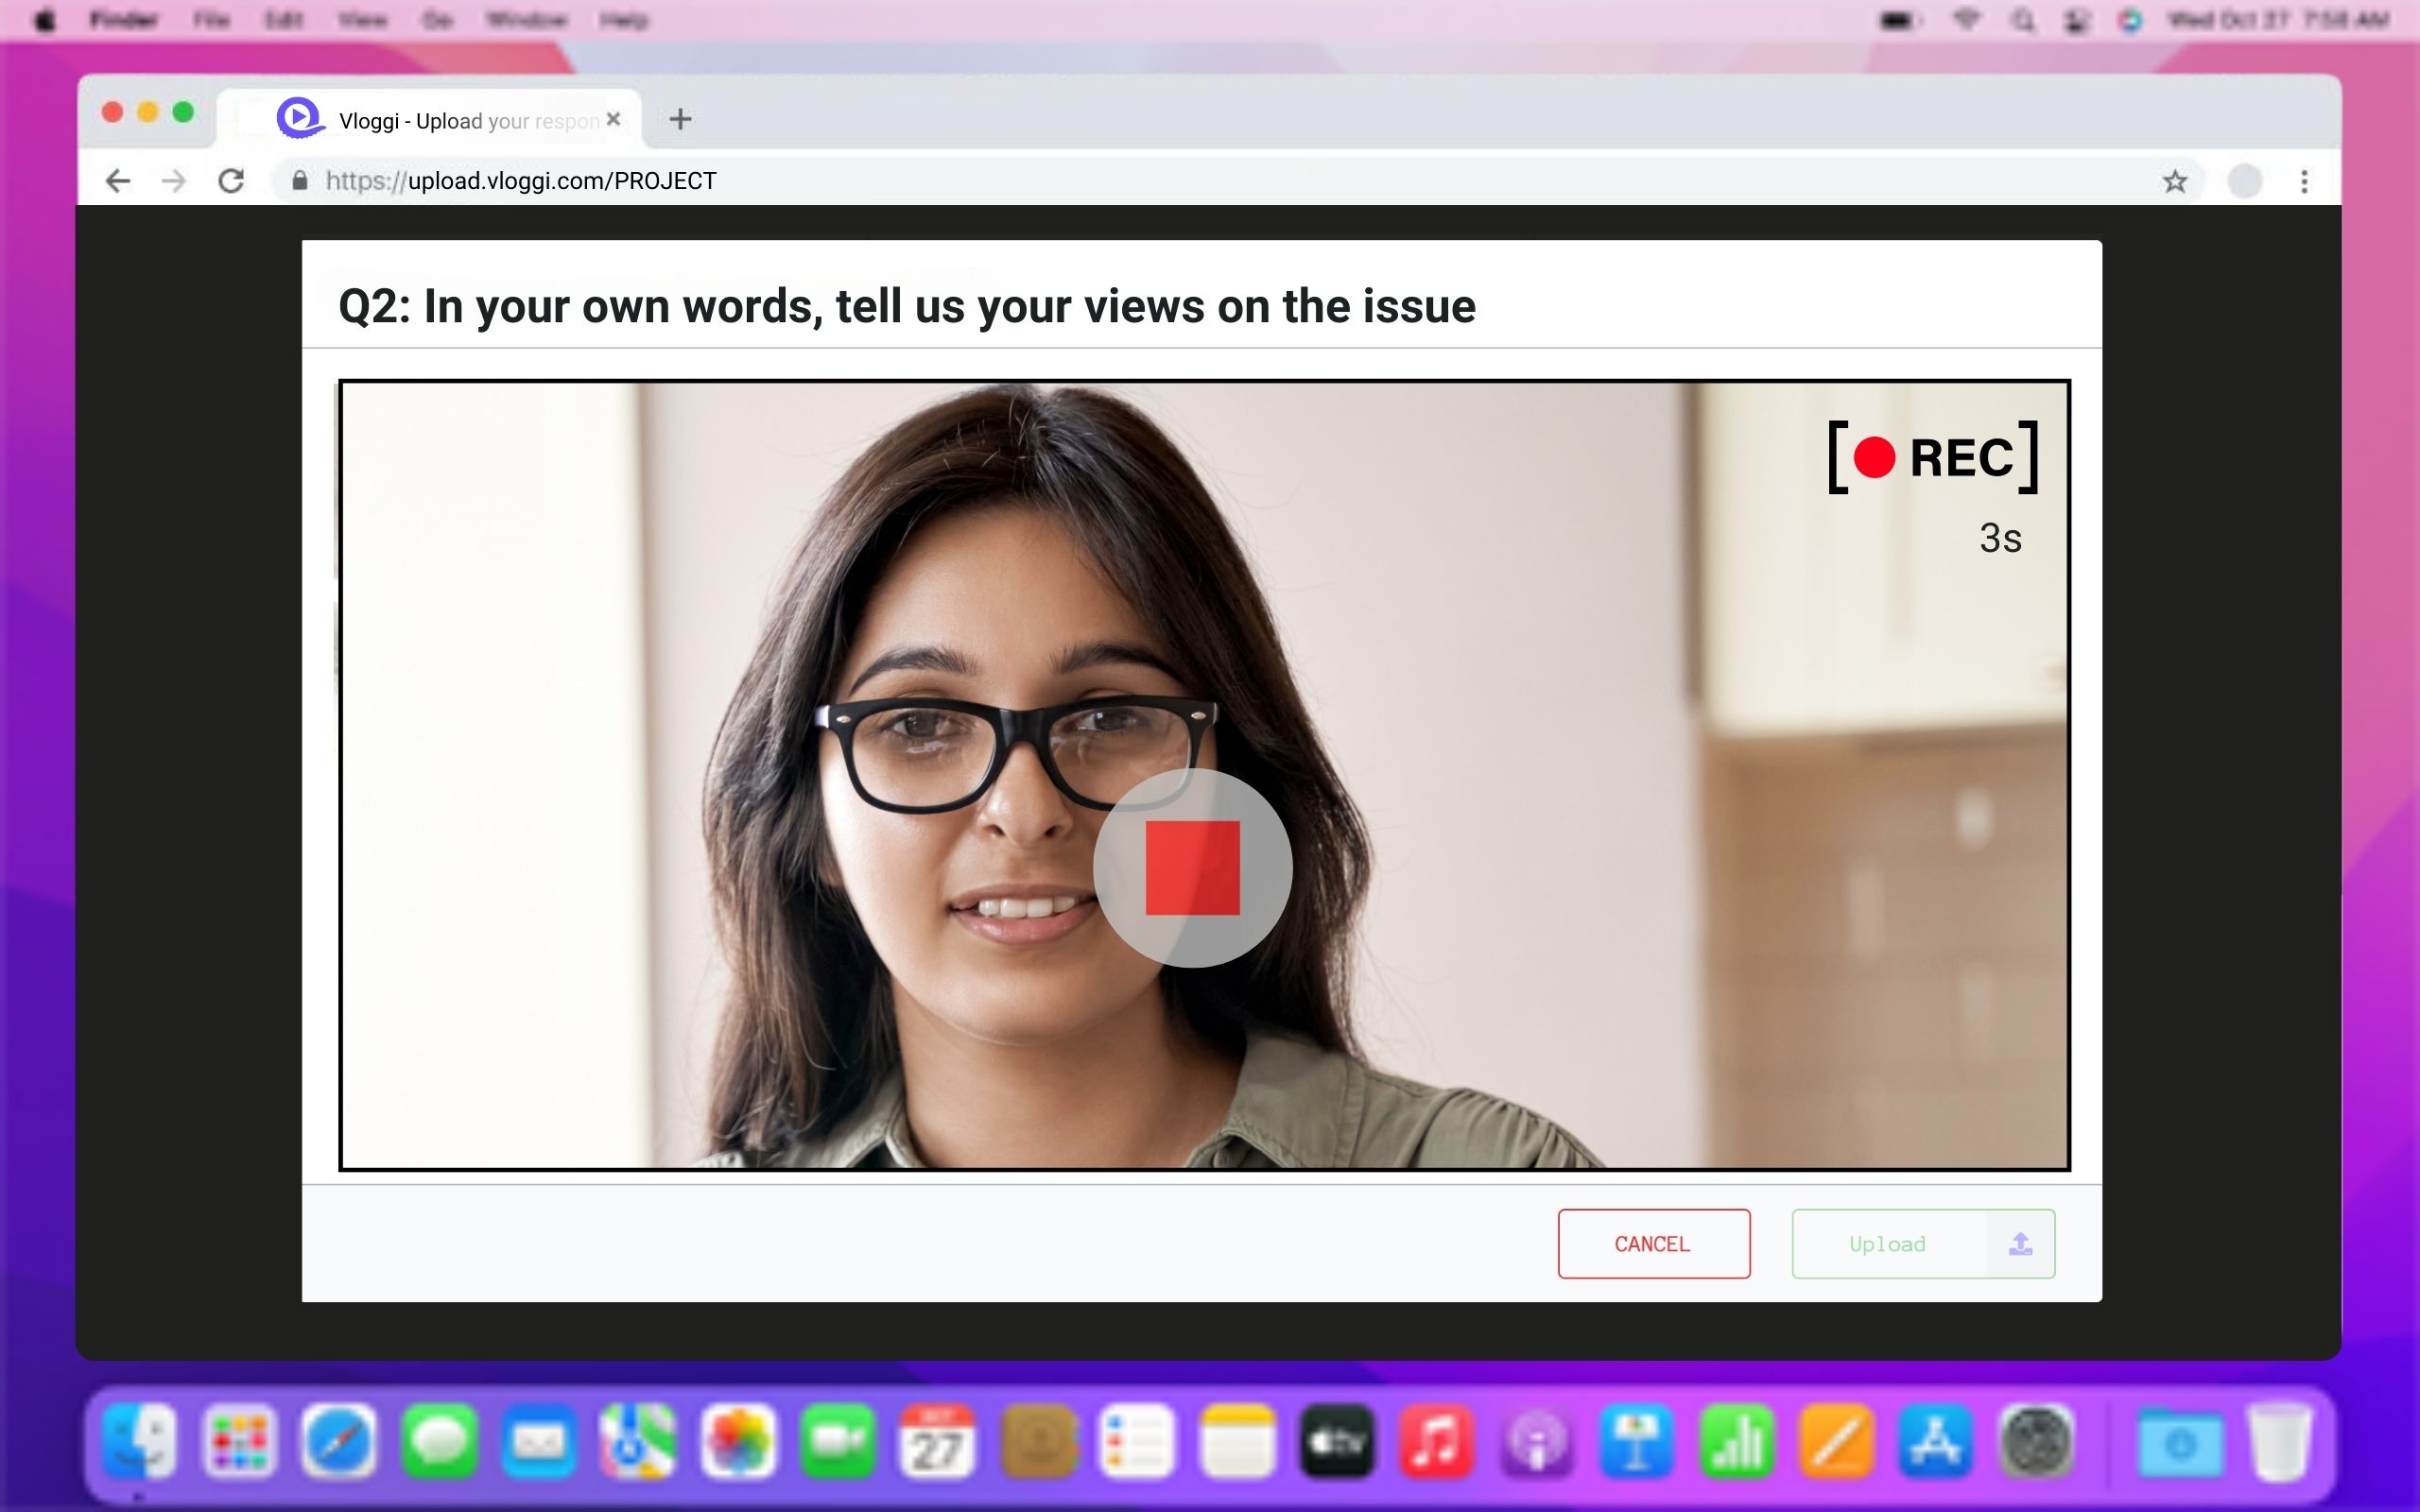
Video Questionnaires
If the upload page is part of a multi-question video questionnaire, you will:
- Be prompted to record or upload a video for each question, one at a time.
- The number of questions will be shown (e.g., Question 1 of 4).
On a Desktop Computer
For video questionnaires, a webcam pop-up window will open for each question. Ensure that pop-up blockers are disabled and that your computer allows access to both your camera and microphone.
At the end of the questionnaire, your common information (like name and location) will be applied across all answers, but you may need to add specific details for each video clip.
Common Issues & Troubleshooting
File Size Limitations
- Vloggi can accept files up to 6GB, but most project owners set limits between 250MB and 2GB.
- A 2GB file equals around 14 minutes at 1080p HD quality.
If your file is too large, consider compressing it using tools like Clideo's Compress Video or Veed Video Compressor.
File Formats
Accepted formats include MP4, MOV, AVI, WEBM. If your file is not accepted, ensure it is in one of these formats.
Connectivity Issues
Uploading may fail over slow connections, especially on mobile networks. Try switching to a stable wi-fi or fixed (Ethernet) connection if the upload fails.
Permissions for Desktop Users
Ensure your browser is set to allow camera and microphone access, especially if recording directly from your computer. This can prevent missing audio or video in your upload
By following these steps, you’ll successfully upload your video to Vloggi. If you encounter any issues, try the troubleshooting tips above, or reach out to the project owner for assistance.
You can also email support@vloggi.com if you encounter any technical issues or use the chat bot at vloggi.com to reach our team.